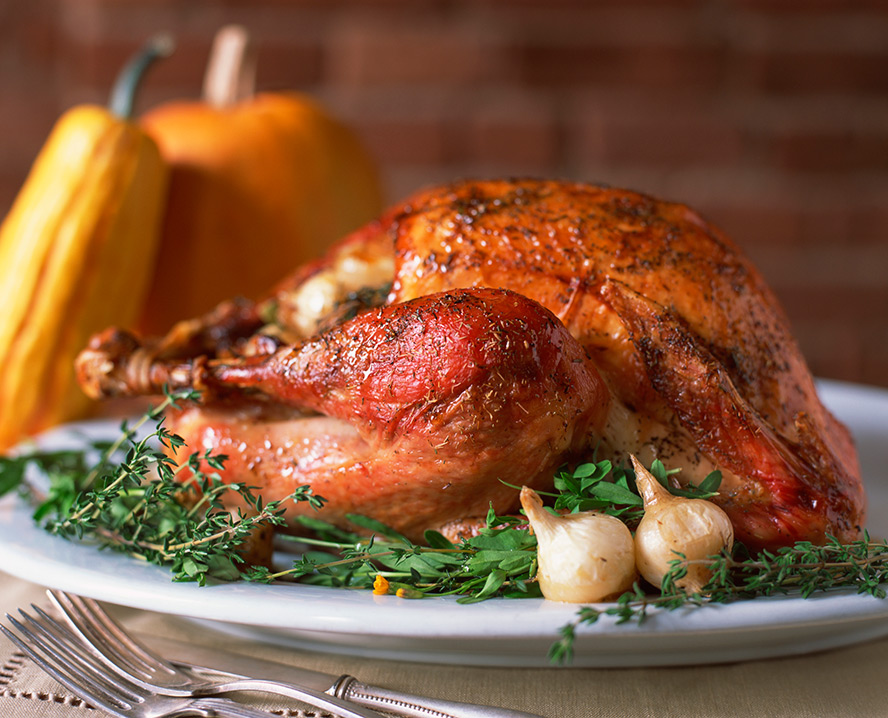
If you’ve ever had unbelievably flavourful and juicy chicken at a restaurant, chances are it was brined before it was served to you. You can get that same tender result at home by brining your Thanksgiving turkey before roasting it. Besides adding flavour through aromatics like garlic and bay leaves, brining helps meat retain moisture through the cooking process, resulting in unbelievably tender turkey and lots of compliments to the chef. Whether it’s a wet or dry brine, it’s a real easy technique that is good to have in your repertoire. Here’s how to make both wet and dry turkey brines, along with some pros and cons for the two methods.
Related: The Ultimate Guide to Turkey Cooking Times
Wet Brining
Pro: Soaking your bird in a saltwater solution allows you to easily infuse it with different flavours, such as bay leaves, citrus peels, whole peppercorns or onions. Just strain them after the brining is complete.
Con: Wet brining can be a bulky process. Because there is a lot of liquid involved, this method requires a large container to hold the turkey and the brine, which can mean rearranging your refrigerator ahead of the big day.
Con: For extra crispy skin, you need to remove the turkey from the brine and return to the fridge uncovered for several more hours to dry. With the dry brine, you can just roast straight away for golden, crispy results.
Related: A Holiday Menu Full of Secrets From the Kitchen
Simple Wet Brine for Turkey
Prep Time: 15 minutes
Total Time: 12 hours
Ingredients:
1 L water
1 cup sea salt
3 garlic cloves, peeled
2 bay leaves
1 tsp black peppercorns
1 cinnamon stick
1 sprig fresh rosemary
Peel of 1 lemon
3 L cold water
1 tall, large pot or container
1 large turkey, gizzards and neck removed from cavity
Directions:
1. Place 1 litre of water and all aromatics in a medium pot. Turn the stove to medium heat and stir until the salt has completely dissolved.
2. Remove from heat and allow to cool for 10 minutes while aromatics infuse. Combine with remaining water.
3. Place turkey in the pot and add saltwater mixture. Cover with lid or plastic wrap and place in the refrigerator for approximately 12 hours or overnight.
4. When ready to roast, strain saltwater from the pot and discard any remaining aromatics.
5. Rinse turkey in cold water, including inside the cavity, to remove excess brine.
6. Place turkey on a clean towel or sheets of paper towel and pat dry.
7. Roast as desired.
Related: Chorizo and Winter Greens Sourdough Stuffing
Dry Brine
Pro: With no added liquid and just a medley of salt and spices rubbed directly on the bird, you give the salt an opportunity to draw moisture from the bird. Once the salt dissolves, the moisture is reabsorbed, salt in tow, tenderizing the meat and maintaining its flavour without watering it down.
Pro: Since there is no extra liquid used, roasting will yield a beautifully brown and crispy skin.
Con: The dry rub isn’t for those who hate getting hands-on with meat. You need to make sure this salt rub is rubbed in evenly for it to fully work its magic.
Related: This Cheesy Green Bean Casserole is a Must-Try Side This Holiday Season
Simple Dry Brine for Turkey
Prep Time: 5 minutes
Total Time: 8 to 12 hours
Ingredients:
2 sprigs fresh rosemary
4 sprigs fresh thyme
2 garlic cloves
1 Tbsp chopped fresh thyme
1 tsp black peppercorns
½ cup sea salt
2 Tbsp cane sugar
1 large turkey, gizzards and neck removed from cavity
Directions:
1. Place the first 5 ingredients in a food processor and pulse several times until a chunky paste forms.
2. Add salt and sugar and continue to pulse until a grainy paste forms.
3. Pat turkey dry with paper towel and then liberally rub the salt mixture all over the skin and inside of the cavity.
4. Place in refrigerator and let sit for 8 to 12 hours.
5. Remove from refrigerator and rinse in cold water to remove the rub.
6. Place turkey on a clean towel or sheets of paper towel and pat dry.
7. Roast as desired.
