Ever wonder how to properly clean Brussels sprouts? We’re here to demystify washing and preparing this nutritious green cabbage-like bud so you can get the most out of the veggie.
Step 1: Choose the Right Brussels Sprouts
Part of the Brassica family (along with kale, cauliflower and broccoli), knowing how to work with Brussels sprouts begins at the source of where you get them: you want to look for tightly-closed green leaves. The leaves shouldn’t be yellowing and they should have a fresh, herbaceous smell. In this state, they can last in your fridge for up to 10 days.
Step 2: Trim and Wash Brussels Sprouts
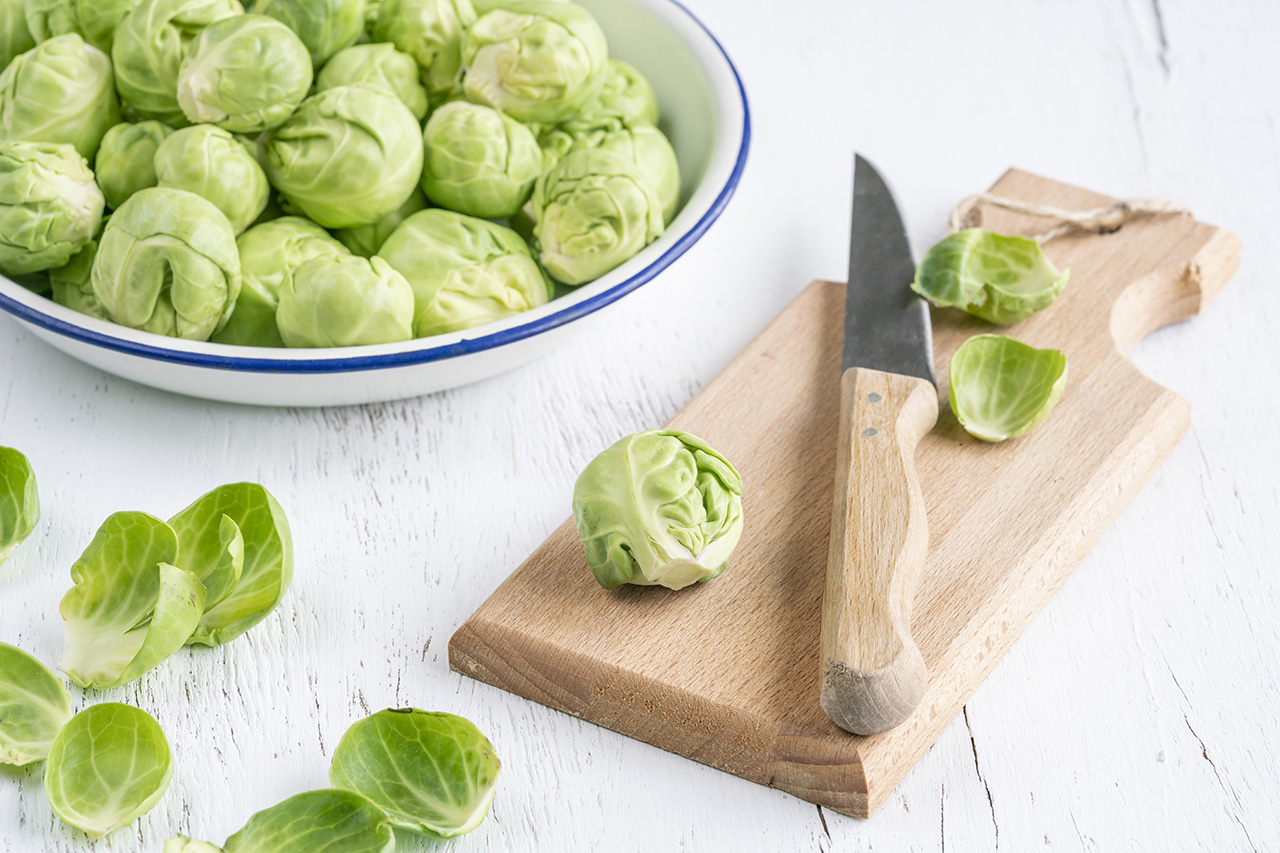
To clean the Brussels sprouts, you’ll want to lightly trim the bottom of the bud off and remove any obviously discoloured leaves. Thoroughly wash them (we recommend allowing them to soak in a bowl filled with cold water for a few minutes). With your hands, work the Brussels sprouts around the bowl to dislodge any sediment and dirt that may be stuck in and on the leaves. Use your hands to rub off any particularly stubborn dirt.

Getty
Step 3: Dry Your Brussels Sprouts
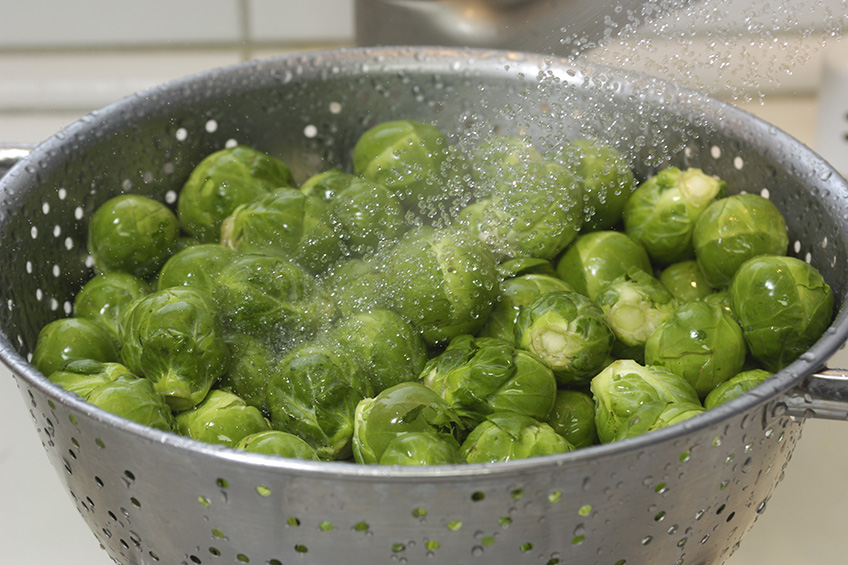
Once you’re done soaking and washing your sprouts, transfer them into a colander, and once again, run them under cold water to rinse of any remaining dirt and sediment. Give the colander a good shake to expel any excess water then pat dry the batch (you can dry them bit by bit if you’re working with a larger amount of Brussels sprouts).
Step 4: Prep Your Brussels Sprouts
Trim the bottom of the bud all the way and half your brussels sprouts, then remove any additional leaves that look yellowed or dirty and cut out any browned or yellowed spots. That’s it!
Step 5: Enjoy!
This delicious little veggie is not only a nutritional powerhouse, but it’s also incredibly versatile when it comes to preparation. Once properly cleaned, you can:
