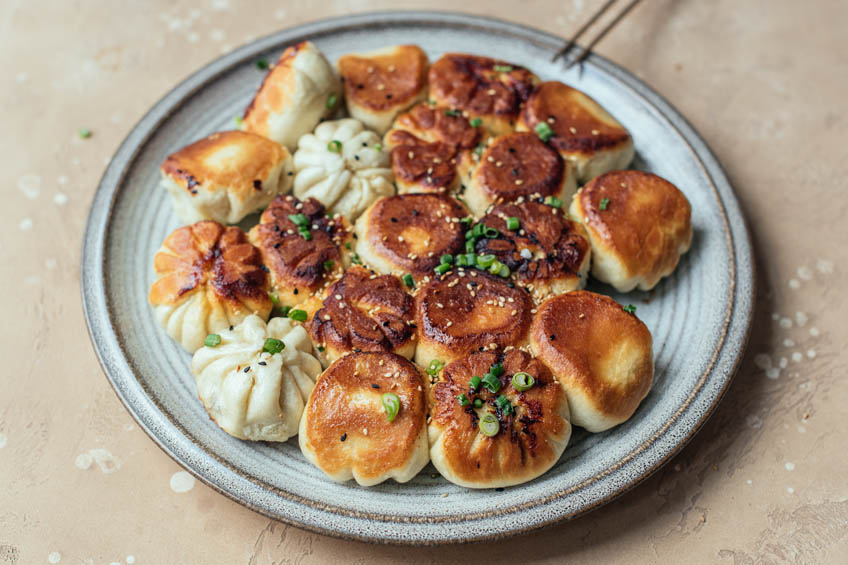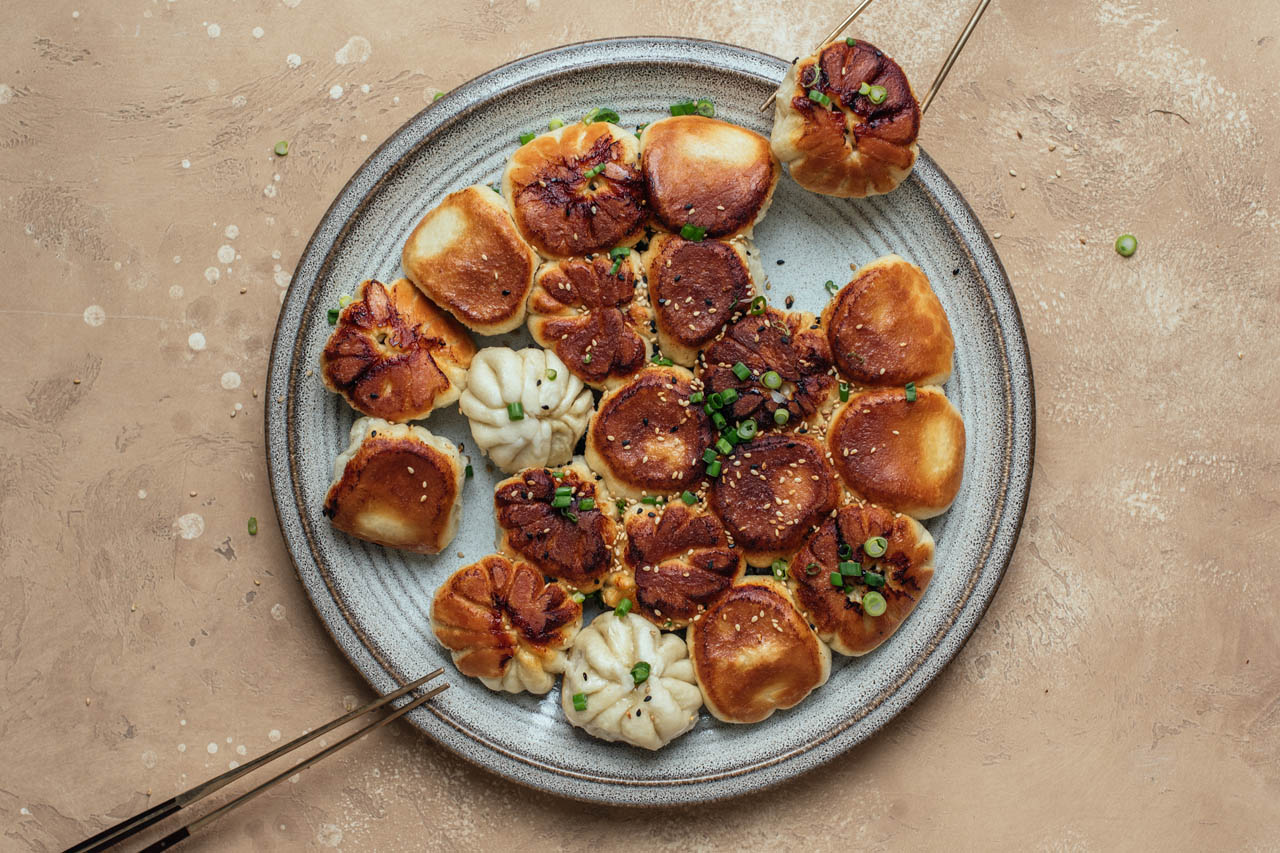
These Chinese Pan-Fried Buns filled with pork and bok choy are heavily inspired by the well-known Shanghai Sheng Jian Bao (生煎包). This streamlined iteration eschews the step of preparing a pork stock gelatin for the filling that is normally in Shanghai soup dumplings because it’s a bit extra (read: laborious) for the average home cook. Instead, juiciness is pursued by way of fatty ground pork (ideally 30% fat content) and leafy bok choy in the filling, much like my favourite dumpling filling. The real treat here is, without a doubt, the fluffy yeasted dough wrapper which gets steamed then shallow-fried (in the same skillet) for gloriously crispy, golden brown bottoms.
ingredients
For the dough
For the pork filling
For cooking
For garnish
directions
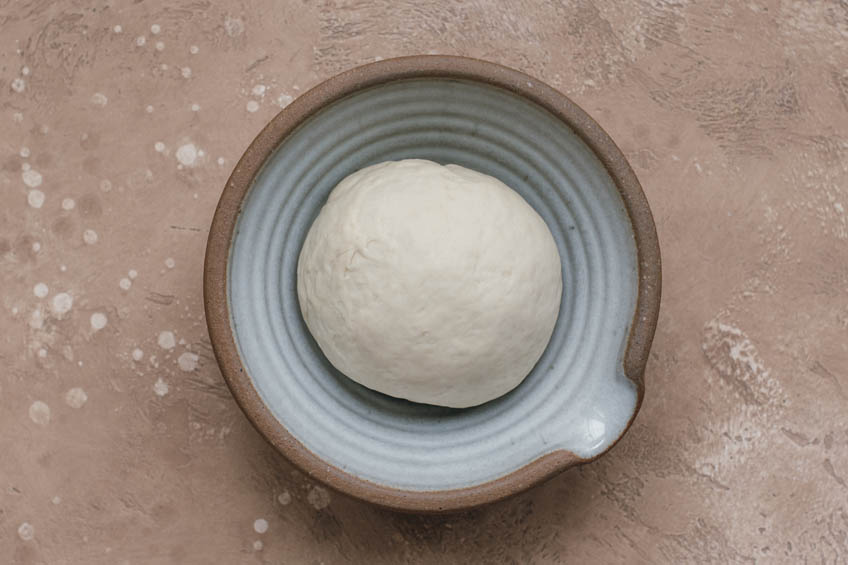
Set a large bowl over a damp kitchen cloth or paper towel. Whisk in flour, instant yeast and sugar to mix well. Slowly but continuously, pour lukewarm water or milk into the bowl at the same time while mixing with a pair of chopsticks (or spatula). Drizzle in the oil and do the same to incorporate. The dough should be ragged with streaks of flour throughout at this point. Turn the bowl onto kitchen counter and begin kneading with your hands for 15-20 minutes. At the end of kneading, the dough should feel elastic, not sticky and mostly smooth with some bumpy texture on the surface. Cover and rise on the counter for 1 hour, or in the fridge for 2-24 hours. After rising, the dough will be doubled in size and smooth all over.
While dough rises, prepare the filling. Using the same skillet you plan to use for cooking the buns, fill with 2-3” of water. Bring to a boil and blanch bok choy until stems just become pliable, but not completely cooked, about 3 minutes. Drain and cool slightly. Squeeze excess water from bok choy and finely chop. Add chopped bok choy and all the filling ingredients into a large bowl and mix well.
Note: At this point, I always suggest tasting the filling before moving on. Microwave 1 tsp of filling on a small dish for 30 seconds. Taste and adjust seasonings such as salt and soy sauce. The filling should taste flavourful and even a touch on the saltier side since it is flavouring the finished bun.
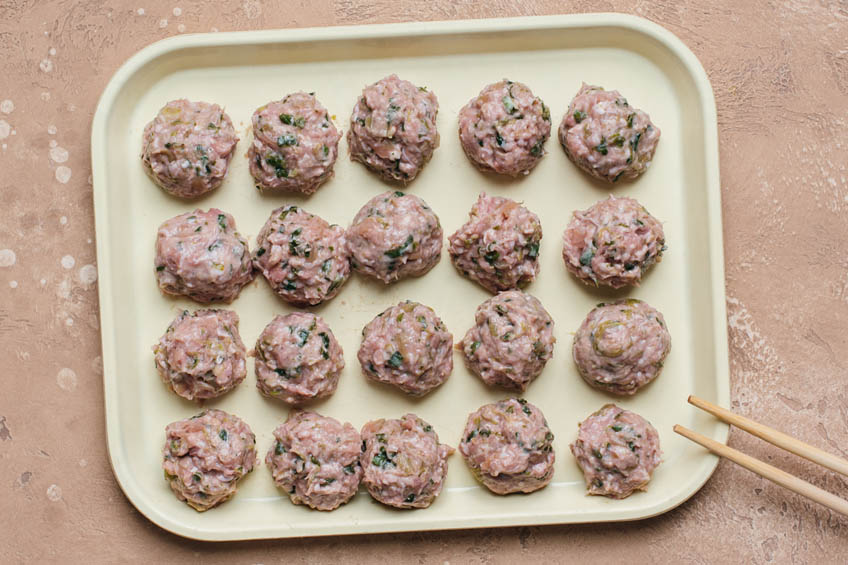
Once seasoning is adjusted to liking, grab a wooden spoon or several thick chopsticks held together to create a mixing baton and mix the filling vigorously for about a minute or until it is pasty. Dampened hands with water to minimize sticking, and form mixture into 20 equally-sized balls (about 17 g each).
Divide rested dough into 20 equally-sized pieces (about 20 g each). Cover well with a damp towel or plastic wrap to prevent drying out while you roll out wrappers and form buns.
Related: This Taiwanese Beef Noodle Soup is Brothy, Slurpy Perfection
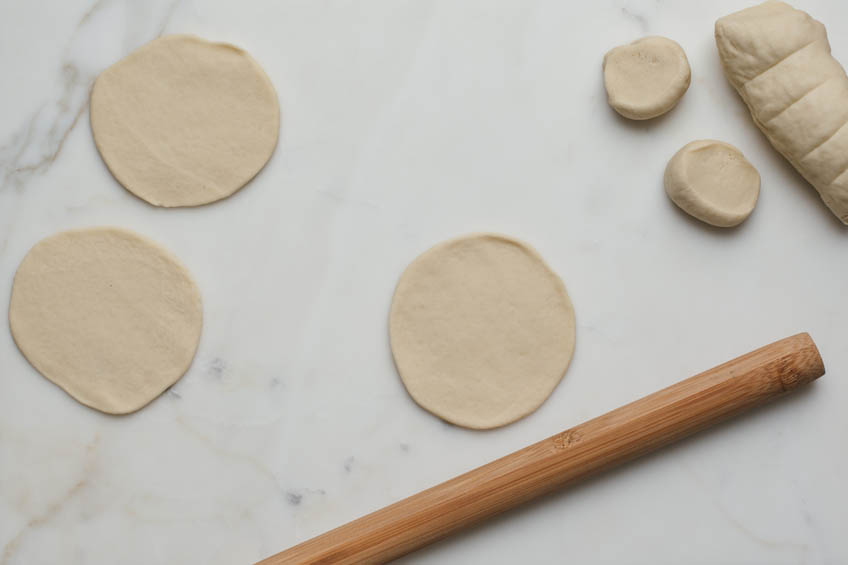
Taking 4 balls of dough at a time so the wrappers don’t try out, flatten one dough ball with the palm of your hand and roll into a circle about 5” in diameter. Roll the edges thinner than the center by pushing rolling pin from center of the wrapper outward, turning the wrapper ⅛th of a turn and repeating.
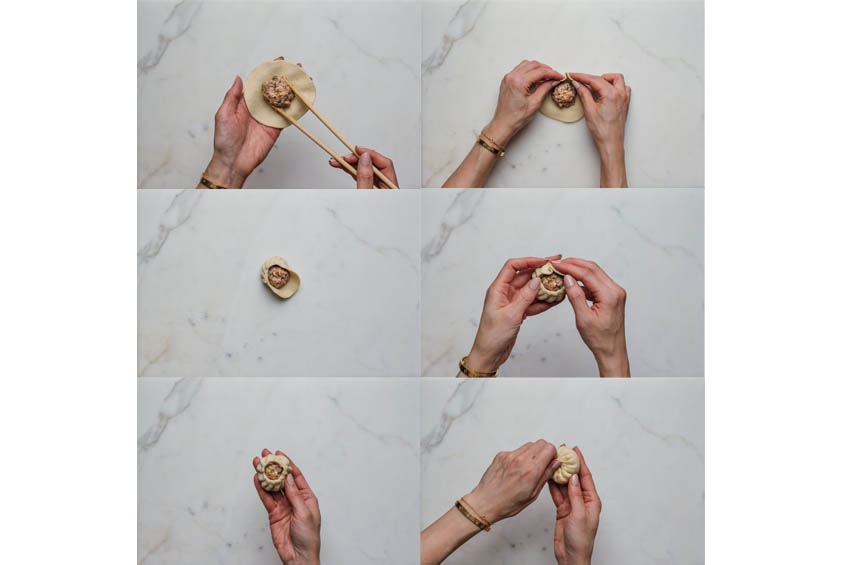
Place a meat ball in the center of a wrapper. Starting at 12 o’clock position, fold small pleats all the way around, pinching each pleat gently to stick. You can leave the small hole at the top, especially if you plan to steam them right side up. Otherwise, gather the top and pinch the small opening closed, giving it a gentle twist to help it stay in place. Repeat until all buns are formed.
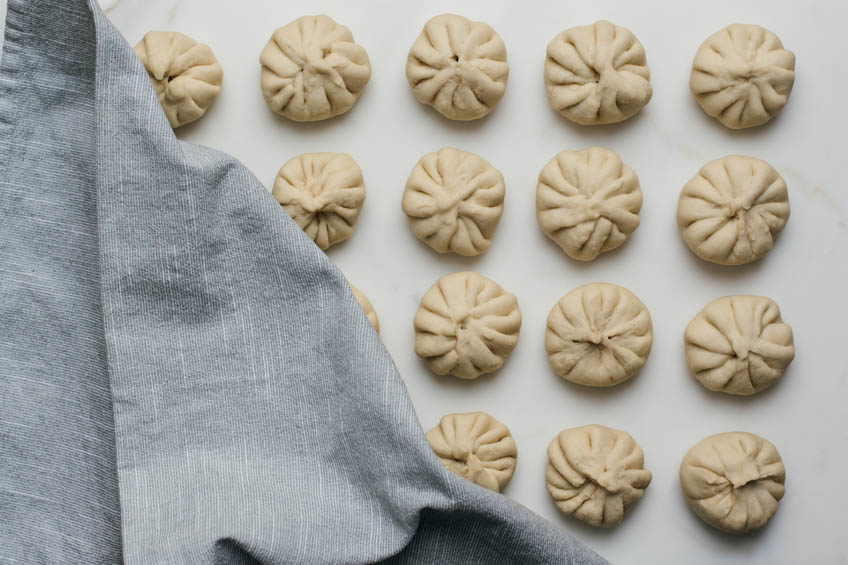
Cover buns and rest for 10 minutes.
Into a large non-stick skillet, add 2 Tbsp or enough oil to cover the entire bottom. Arrange buns in 10-inch skillet, pleat-side up or pleat-side down, or a combination of the two. Arrange all 20 buns in skillet so they are touching (they will easily pull apart once cooked). Alternatively, cook in 2 batches and arrange 10 buns in skillet, spaced ½” apart to allow for expansion during cooking.
Pour ¼ cup of water into the skillet. Cover with lid. Place skillet on the stove over medium-low heat until you can hear the water boiling and see steam escaping. The buns will steam about 7 minutes or until water fully evaporates. At this point, the buns will fry in the oil. Pan fry 2-3 minutes or until bottoms are golden brown and crispy. Uncover and allow the buns to dry off for 30 seconds. They are ready to serve!
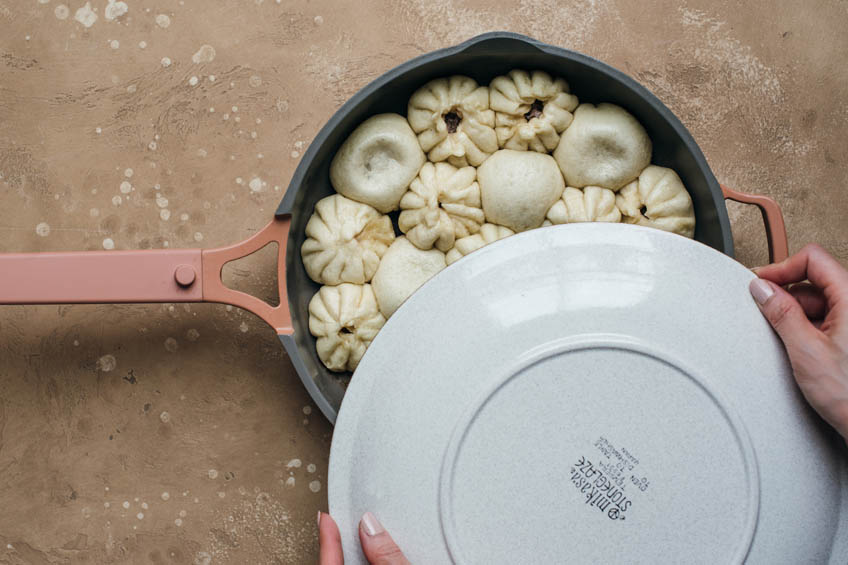
To serve, carefully check for and drain off any oil at the bottom of the pan – use the lid slightly skewed to the side to keep buns in place while tilting the pan over a dish to catch any oil. Remove the lid and put a serving plate slightly larger than pan circumference inverted on top of the pan. Hold plate and pan handle to press them firmly against each other. Flip with one quick motion. Lift the pan and voila, gloriously crispy buns! Alternatively, slide them out of the pan onto serving plate, crispy side down. Either way, garnish tops with black and white sesame seeds and chopped scallions. Enjoy fresh and hot.
Looking for more Chinese bun ideas? Try these soft and fluffy BBQ pork buns next!
